Monday, March 10, 2014

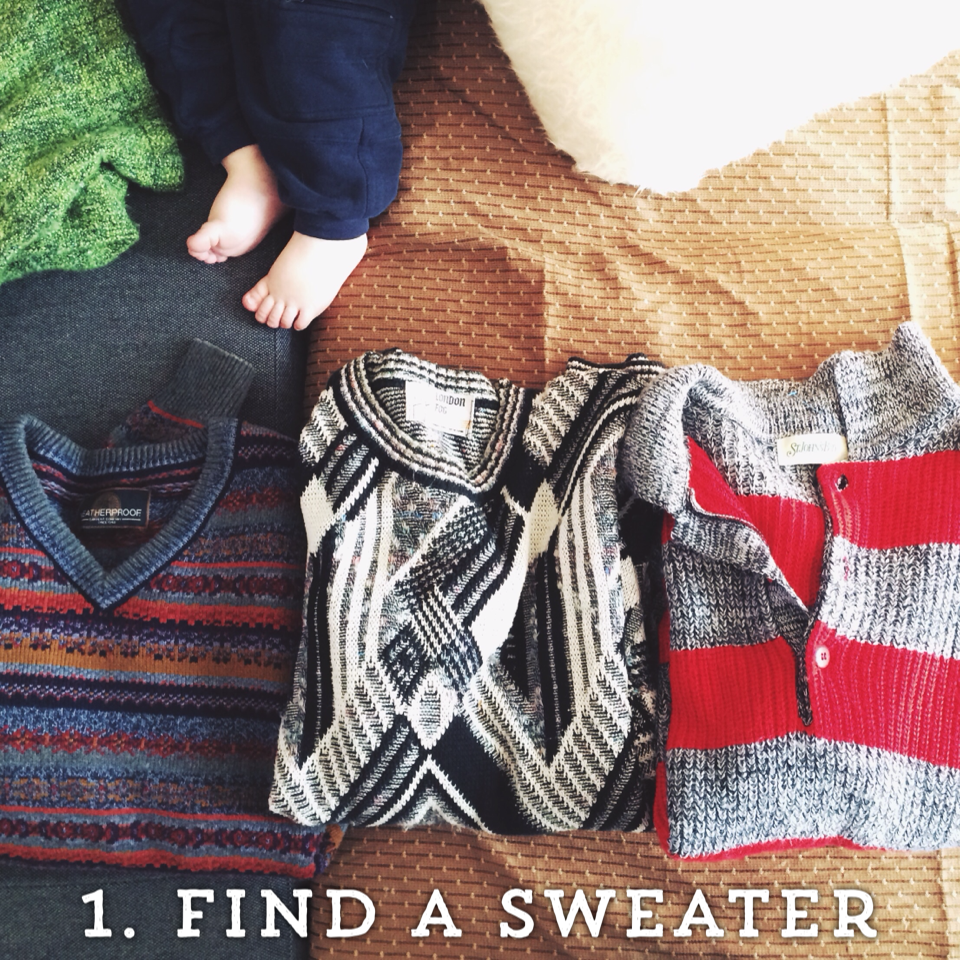
Day 3: Leggings & Crocheted Cardigan

February always kicks me in the butt.

I gain all my winter weight in February. Why? Because I lose the will to live! Sometimes the only things that can get you through the snowpocalypse that is Iowa is a cookie. Or whole bunch of cookies. And a box or two of wine. Lay off me, I'm starving!


I'm going to lay it out; I'm doing poorly with this experiment so far in terms of wearing only what I make every day. But, in terms of learning... So learn. Very learn. Wow. 

What has happened for the last month while I've been off the radar? I'm glad you asked!


Well, first, let me give you my excuses as to why it's been hard and I haven't been keeping my goal very well.

1. I'm lazy.
2. I get barfed on, peed on, smeared with bananas, wiped with mud, and used as a human Kleenex by my son on a regular basis. I go through my tiny collection of handmade clothes as fast as you can say "sassafras!". It's a dirty job, being a mother. I am going take a page out of our ancestors' book and start wearing aprons!
3. I'm lazy. 
4. Le hubs is crazy busy at work right now. If we get to lie on the couch next to each other, talking for five minutes without having to shout over our yodeling toddler, it's a good day. When one parent is busy, by proxy that means no free time for anyone. I don't know how single parents function. They have nothing but my admiration. 
5. Last but not least, we are moving to Florida at the end of May. It was not final until last week, but I've been suspecting something since early February. So, my motivation to sew a bunch of winter clothes that would languish in storage has been non-existent. I am also trying not to panic about selling two houses, packing everything up, and moving across the country.

I am so excited, guys! No moar winter!!
But sad, too, because I'm going to really miss my family and friends. Can you all please do me a favor and move to Florida with us? Okay, thanks.


This is what I worked on during the month of February; the perfect leggings pattern!

Leggings are deceptively simple. I mean, how hard can they be to sew?  And yet, after having sewn pair after pair of saggy, whale-tail baring, shamefully camel-toed, pooch accentuating tights, I realized those $5 pairs I had been buying were divined by means of sorcery.

First, I tried a tutorial I found on my best internet friend, Pinterest. I don't have good things to say about the tutorial, so I'm not going to link it. The tutorial didn't take into account that my butt is bigger than my belly (for now, bwahaha husband!), and I, being a newbie pattern drafting derp, didn't know any better.

I sucked it up and sewed a pair from a commercial pattern. No experiments, no guesswork, just pure pattern obedience. They fit better, but still not great. MEH!

So, I took the pattern I made and laid it under the commercial leggings pattern. Once I combined the two, I was able to devise the perfect pattern! Soon I'll tell you how to do this, as well. For now it's a secret. Why?

Yep, I'm lazy.


Viola! Leggings. They don't look like much, but they're the best pair I've ever owned.


I also finished crocheting a cardigan. It's...odd. Because I made it, I see all the flaws. I also didn't use a pattern, just kinda fussed around with it until it started to look like clothing.

And here we come to February's lesson.

Use a pattern.

I'm terrible about this because I love to experiment, but this doesn't always result in wearable items. It can also waste a lot of time. And when time is precious, working on one sweater for a month or ending up with a bunch of handmade but humiliatingly ugly clothes can become an exercise in futility.

What is March going to hold? Will I actually start to develop enough of a wardrobe to wear? I hope so. I'm getting desperately tired of the Yoga Pants Mom I've become. Otherwise, I'm going to start wearing this shirt by Feather Hearts every day:

I just love this shop. Seriously, I want all the shirts. 

Sunday, February 2, 2014

Day 2: ugh

I remember the first week we brought our son home from the hospital. All parents have this sudden clutch of despair and terror, the thought that your life is over as you knew it. I was no exception. It's wonderful and terrible, being a mother. You lose yourself, because to survive, you must. Just now that my son is sleeping through the night and able to play on his own for a few minutes at a time, I have begun to regain a bit of individuality.

This project is nowhere near that feeling, but I'm definitely questioning my sanity that I decided to take it on. Maybe it's because my hair feels like a greasy fur hat. Maybe it's because I procrastinated and have nothing but a pair of swants, two wrap dresses, and medieval garb. Or, it's because after a sub-zero winter, my body resembles the white blob of fat you fish out of your Dinty Moore Stew.

Today was a very meh day for clothes. I couldn't figure out what to wear that didn't have me looking like Acid Amish. 


I hate this color of red on me. No.


Okay for around the house, but again, too Old Testament. The white chemise is my lovely nightgown until I can whip up other pajamas.


So, this was the final "outfit". Again with the grey top. I used the blue wrap dress as a skirt. Hat and scarf of my own crochet. It's going to get better, but it's going to take some work. And bottles of wine.

I promise to be more exciting soon. Until then, sewing machine pedal to the metal!

Saturday, February 1, 2014

Day 1: Swants & Batwing Top


I tossed together a quick knit top today, to wear with my swants. It's not the most figure-flattering thing, but for a 1 hour project, it will do. It's a strange feeling to wear only the clothes I've made. 


Piggy back rides! This is one of the main criteria of any clothing I make; that I can move around in it with my son. 

The next project will be the awesome No-Sew Dress. It can be worn a multitude of ways: dress, skirt, top, and vest. Until tomorrow!

-Sade

Tuesday, January 28, 2014

diy dryer balls

In an attempt to rid our home of unnecessary chemicals, I discovered dryer balls. They are wool balls that have been felted. Think of the time you washed something wool and it came out doll-sized and stiff; that's felting. I use them in place of dryer sheets. 

With their bouncing action and absorptative properties, dryer balls cut the drying time of your clothes down substantially. They also combat static, but I throw in a couple large balls made of tinfoil for good measure. I love how soft it makes our clothes!

So, how many do you need? Well, it's up to you! I use 8 tennis ball-sized balls with each load. You could use more or less. I like to have a bunch, as they tend to sneak out of the dryer one at a time with the laundry. 


One thing to note, you must use 100% pure wool. No blends, and no Wool-Ease (wool that is designed to be washed). You could also unravel that super itchy sweater you never wear and repurpose the yarn for this project.


Dryer balls are a super easy and fun project to make. Gather your supplies, put on a movie, and start wrapping!


Skill: Very Easy
Time: 10-20 minutes per ball, depending on size desired
Materials: pure wool yarn, crochet hook, pair of old pantyhose

(There are many other similar tutorials online, mine is just one of many.)


1. Start the ball by wrapping the yarn around two fingers 5 times.


2. Slide the yarn off your fingers and wrap it cross-wise five more times. Then, pinching your little starter, continue to wrap the yarn around and around.


3. Wrap! This is the dull part. Hence the movie. Have a "ball" with your friends and make them together. Friends always share their balls.  In no time, you'll all be ballers. Shot callers.


Engh! Much wrapping. So yarn. Wow.


5. The finished yarn ball, wrapping stage. Your balls may be smaller or larger. 
I won't judge you either way.


6. Now, fetch that crochet hook your grandmother gave you for your 12th birthday that you have always felt guilty for never using. Use it to pull the tail of your yarn ball through the wrapped yarn. If you don't own a crochet hook, go find a pirate and ask them to help you.


7. Trim the end of the yarn, as close to the ball as you can.


8. Then, grab those old panty hose, cut off a leg, and stuff your yarn ball into the toe, knotting the nylons up between balls. Oh, you knotty balls!


9. Once you have your balls made and stuffed into the pantyhose, throw them into the wash with your other laundry. The hotter the water, the faster they'll felt. It may take up to 3-4 cycles to get them felted.

What does it look like when they felt?


The yarn fibers bind together, and you can no longer pull the threads away when you pinch the ball.

Congratulations! You now have a batallion of dryer balls. Cut them free of the nylons, and throw them into their inaugural dryer load. Then listen to the sweet sound of money, and the environment, being saved.

Now, please join me in rockin' out to AC/DC:


Sunday, January 26, 2014

frida cotton dress

Frida Kahlo. Self-Portrait with Thorn Necklace and Hummingbird.

Frida Kahlo is one of my heroes. 

She was a feminist before it was a thing, simply by the strength of her own determination. Frida was also a talented, self-taught painter. She was born in Mexico during their Revolution, and it seemed to have set the tone for her life. Through many personal tragedies, including ailing health from a bus crash that resulted in over 30 surgeries through her life, a lecherous husband, and miscarriages, she produced powerful and beautiful art. Frida has always captured my imagination and empathy, through her paintings and her life. And not just because I have a girl-crush on the luscious Salma Hayek who plays Frida in the eponymous movie about the artist. 

Frida with a fawn. She loved animals, often including them in her paintings.

Frida Kahlo on a boat.

She was a modern woman at a time when women were expected to live in the box of gender coding, and not complain or struggle against their lot. Kahlo expressed her life primarily through self-portraits. Some people classify her as a surrealist, a label the artist herself rejected. She said:

          “They thought I was a Surrealist, but I wasn't. I never painted dreams. 

            I painted my own reality.”


Because of her health, Frida was in bed a lot. And not the, yay, let's sleep in and drink coffee in bed sort. More the excruciating pain and surgical recovery sort. I've wondered what kind of person and artist Frida would have been had she possessed good health and a happy marriage. Suffering has a way of either creating or destroying artists.

So, today's quick project is reminiscent of Frida, maybe something she would have worn on a hot day while painting. I'm thinking of the hot pink of sunlight through bougainvillea, the smell of oil paints, and feeling of cool cotton. This was a peasant top and a cotton slip that I joined together, and gathered with a bit of elastic. Not exactly an item that is fully handmade, but enough to meet my project requirements.


Below is an image I made from one of Kahlo's quotes, part of a letter to her husband. She was strong and yet vulnerable to a love that was never fully returned. I wish I could go back in time and hug her. As we head into February, the month of love and all it's implicit loneliness, this quote seems 
especially resonant:


If you want to learn more about Frida, here are some resources:


The Life and Times of Frida Kahlo, PBS documentary.


A tour of Frida & Diego's house, Casa Azul.

A snippet from "Frida", the film about her life. Like all movie interpretations, to be taken with a grain of salt. ;) Still, a well-acted and visually captivating film.

The Life and Times of Frida Kahlo, a PBS produced website.

An article about Frida's miscarriages.

Biography.com's information on Kahlo.


Friday, January 24, 2014

diy sweater pants


Are you cold all winter? Do own sweaters that languish on a shelf in your closet because they are too big and busy? Let's put those threads to use!

About a month ago, my mom posted a link to a video of people dancing in pants made from sweaters. And I mean, dancing. In sweater pants. In public! They were invented by a textiles savant named Stephen West of Westknits. Leave it to an expat Midwesterner to invent such fun and warm pants.


I fell in love. We made some swants. And they were good. Check out Stephen West's tutorial. He's brilliant and generous, and I love Westknits. His site has more fabulous pictures of swants and textile projects. 

However, I wanted to put my own spin on the fab swants. I wanted sweater pants that were more fitted, like leggings. So, I devised my own version of swants. 

How are your sweater pants different from swants? Are you too good for swants, you piggy-backing thief?


No! I love swants. LOVE SWANTS. My sweater pants are different, thus: instead of placing the sweater arms directly over the legs, with the collar/neck hole beneath the crotch, my pants cut the sweater in half and place the collar to the outside of each leg. 

While I was making swants for my mom, it was awkward to try to shape the crotch (hey, Mom! How's it hangin'?). The result of my swants was a saggy crotchal area (crotchal is a technical term, fyi). My pattern take that fitting outward, toward the hips. Anyway, let's start with the tutorial, shall we! It's easier to show you. 

DIY SWEATER PANTS

Skill: Basic
Time: 3-ish hours
Audience: Everyone! Women, men, children. This project is easily adapted for pregnancy.
Materials: Sweater, thread, needle, scissors, safety pins, and shorts that fit you comfortably for sizing
Optional: 1" or wider elastic waistband or belt, sewing machine

Tip: Like any project, read through the directions and look at the pictures before starting. It goes a lot faster if you have an idea of where you are going. 


What kind of sweater? That's up to you! As Stephen West says in his blog, a medium-weight knit is best for ease of sewing. 


The arms of the sweater should fit comfortably over your legs/thighs. Too loose is better than too tight. 


So, you've cut your sweater into three pieces. The first piece will be the waistband. The second cut results in the two legs of your pants. Arrange the two halves so that the collar holes are at the hips. 


This is where the magic starts! Take the two sweater arms and put them on, one at a time. Tuck the tops of the pants into your shorts. This will make pinning the center easier. If you want, have a friend or someone you trust help you pin this area. It doesn't have to be perfect. 


Remember, it doesn't need to be perfect. We'll go back to this area once we've gotten the hips sewn. Use a running or whip stitch to do this. Don't know your stitches? Download and print this handy guide.


What your quickly-sewn seam should look like. Starting to look like pants! Squee! 


Before you put your pants back on, turn them inside out and use your well-fitting shorts as a guide to pin the hips. This will make the fit a little easier and more even. I tried putting the pants on first, then pinning… not recommended. It will skew the center line and leave your panties in a literal bunch.


Once you've gotten the hips pinned, slide your pants on and check the fit, tightening or loosening where necessary.


Trim the extra sweater bits and using a whip stitch or a blanket stitch, sew up the edges of hips. Keep the stitches close together and snug, but not so tight as to pull out the weave of the sweater. A 1/2" seam is safe. If using a sewing machine, use a stretch stitch and not a zig-zag stitch, which can make the seams lumpy. On your machine, if it has a key, the stretch stitch looks like a bunch of equal signs that got smushed together, or maybe a I Ching symbol. NO ZIG ZAGS. No.


Now that your hips are sewn, you can go back to the center of the pants to tighten up the crotch/butt area by cutting out the extra fabric and sewing it back together. This can be a bit of trial and error.

If you're wanting to do lots of high kicks or would like a nicer fit, I recommend placing a diamond-shaped gusset at the crotch. I didn't photograph this step, but here is a link to a blog that has photos of the gusset technique. Not sure? Do a couple of high kicks and your pants will make the correctly shaped hole for you. 


Remember that lonely bit of sweater we cut off in the first step? We are going to use it to sew a fold-down waistband onto our pants! Now, if by some chance you have a really large sweater and no need for extra fabric at the top, skip this step and use your sweater bit as a neat infinity scarf. However, most sweaters will need this step.

Slip the ring of fabric around your hips. If it is too tall, cut it down to the height you would prefer. If it is too wide, pull the ring snug, but not tight, around your hips. Pin the fabric, cut off the extra, and sew up the edge. Replace the waistband, sliding it down so that the band and your pants are at a similar height on your hips.


Your pants will not be the right height, most likely longer in the front than in the back. Use the waistband as a "leveler" and pin it to the pants. Trim the extra material that sticks out.


Once you're pinned the waistband, slip off the pants and whip or blanket stitch the top of the pants. The photo above shows the waistband after it has been sewn onto the pants, and unfolded. If you are pregnant, sew the waistband on so that the seam is on the inside when it is unfolded.


And, you are done! I hope that you have fun with your new sweater pants. Feel free to post questions about the construction, if you have any, and I will do my best to answer.


And finally, gratuitous photos of me posing in my sweater pants, with my son.